Cloud Server Quick Start
Summary
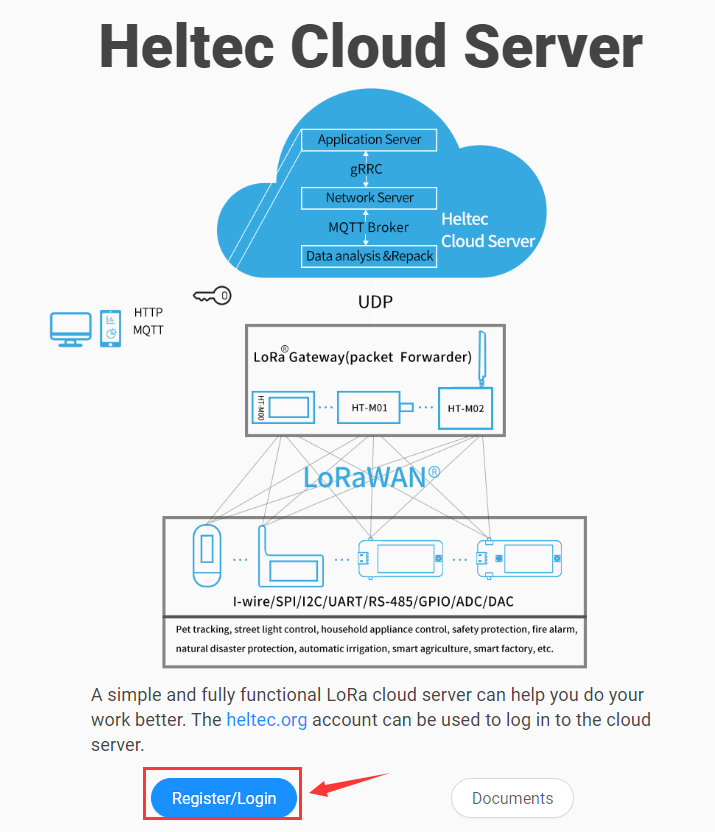
Cloud Server is a simple and fully functional LoRa cloud server. This page shows how to use this cloud server quickly.
Tip
Official website account, forum account and cloud server account can be logged in after activation.
Login/Register
Open the Browser, enter the URL http://cloud.heltec.org,you will see the following interface,click Register/Login 。
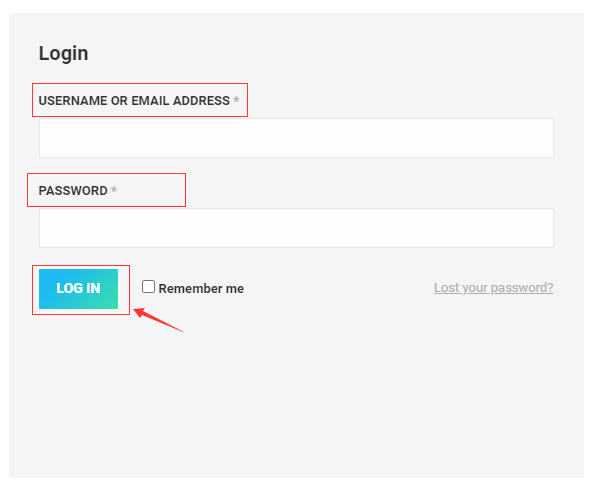
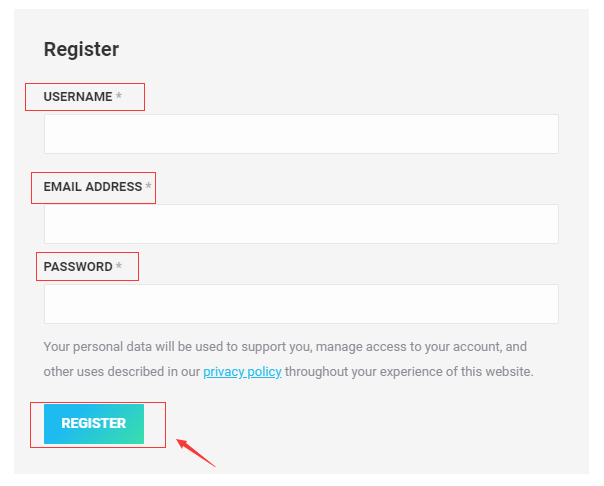
If you already have a heltec.org account, you can enter the correct user name and password directly and click LOG IN . If you don’t have an account, you need to reister first. Enter the user name, email address and password. Click REGISTER to complete the registration,and you can log in successfully.
Tip
If you still cannot log in after successful registration, you can try to log out of the account and log in again.
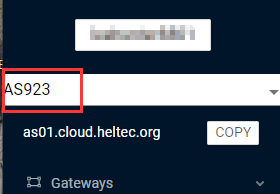
Select Frequency Band
After entering the paltform, select the regional frequency band you need, such as AS923 .
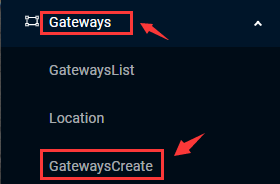
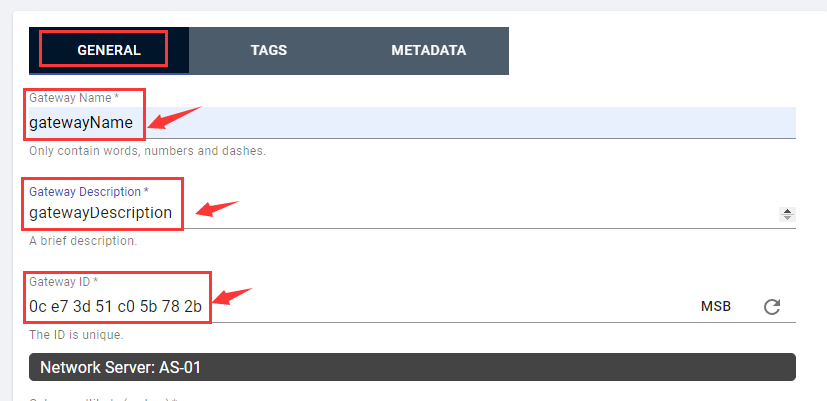
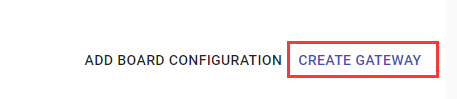
Create Gateway
Click Gateways->GatewaysCreate ,Select the GENERAL menu and fill in the corresponding information. The following three options are required and the remaining options are optional. Finally, slide to the bottom of the page and click CREATE GATEWAY to complete the gateway creation. Here is an example.
Create Application
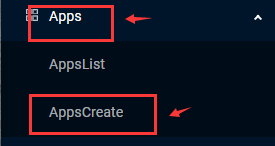
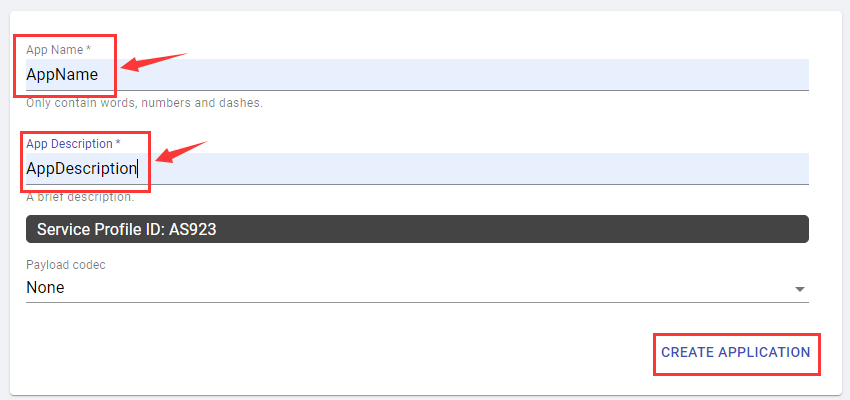
Click Apps->AppsCreate , fill in the corresponding information. The following two options are required and the remaining options are optional. Click CREATE APPLICATION to complete creation. Here is an example.
Create Device
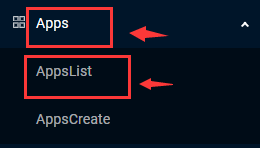
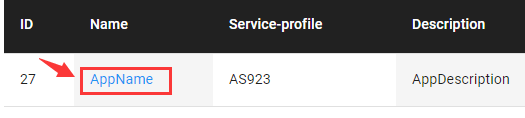
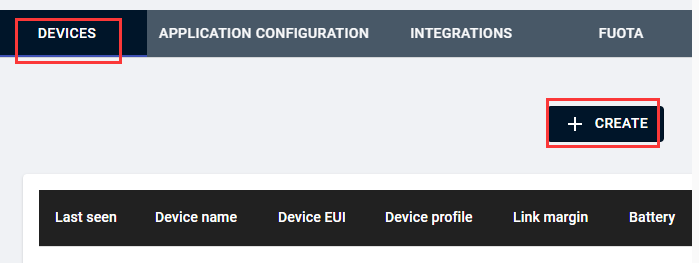
Click Apps->AppsList ,You will see the application we created before (the AppName in the example),and click it.
Select DEVICES menu,Click CREATE to create device.
Select GENERAL menu, fill in the corresponding information,The following four options are required and the remaining options are optional. Click CREATE DEVICE 。
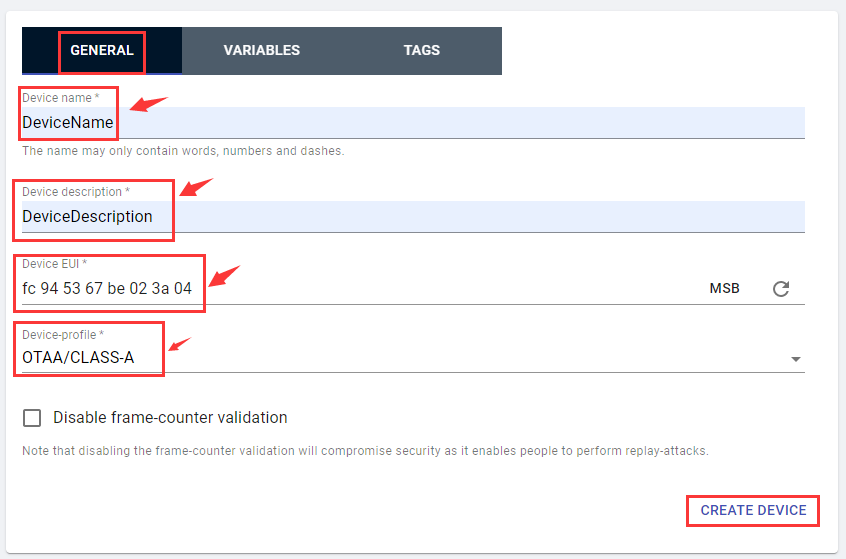
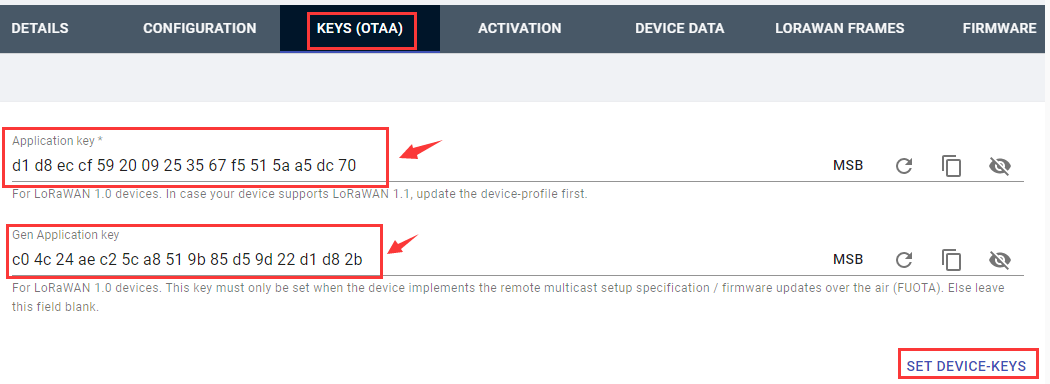
Fill in the required Key or LoRa Protocol information according to the selected Device-profile option. For example, in this example, select Device-profile as OTAA/CLASS-A , as shown below: