MQTT Subscribe Quick Start
Summary
MQTT is a publish / subscribe protocol based on TCP / IP, which can connect a large number of remote sensors and control devices. It is a lightweight message subscription and publishing protocol.
Tip
The software version used in this example is MQTT.fx 1.7.1 and python 3.8.5
Use MQTT.fx Subscribe To Messages
MQTT Access To Cloud Server
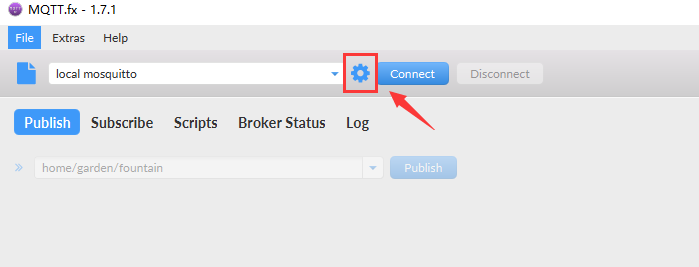
Click the button shown below to configure the connection information.
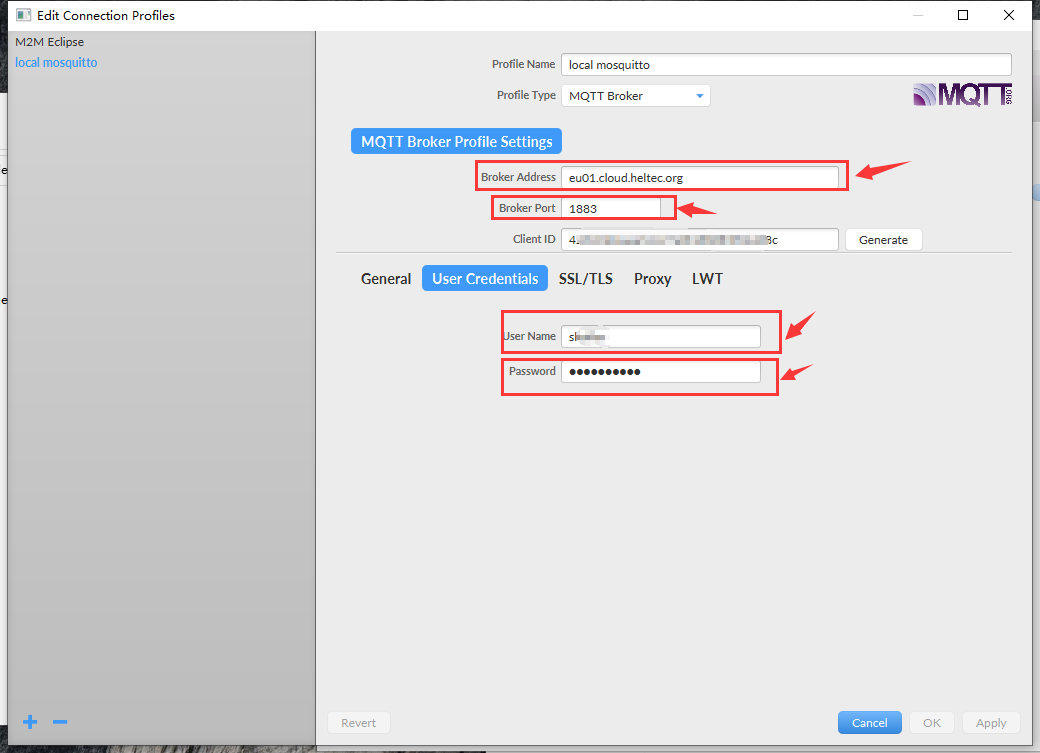
Enter the information, where Broker Address is the server address corresponding to selected frequency band ,the port number is 1883 ,select User Credentials to enter account and password,and click OK .
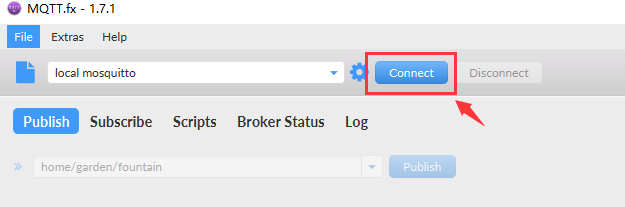
Click Connect to connect to the server. After successful connection, it will be displayed in green on the right.

Subscribe To Messages
Click Subscribe -> scan , Wait for the nodes that access the Cloud Server to transmit data.
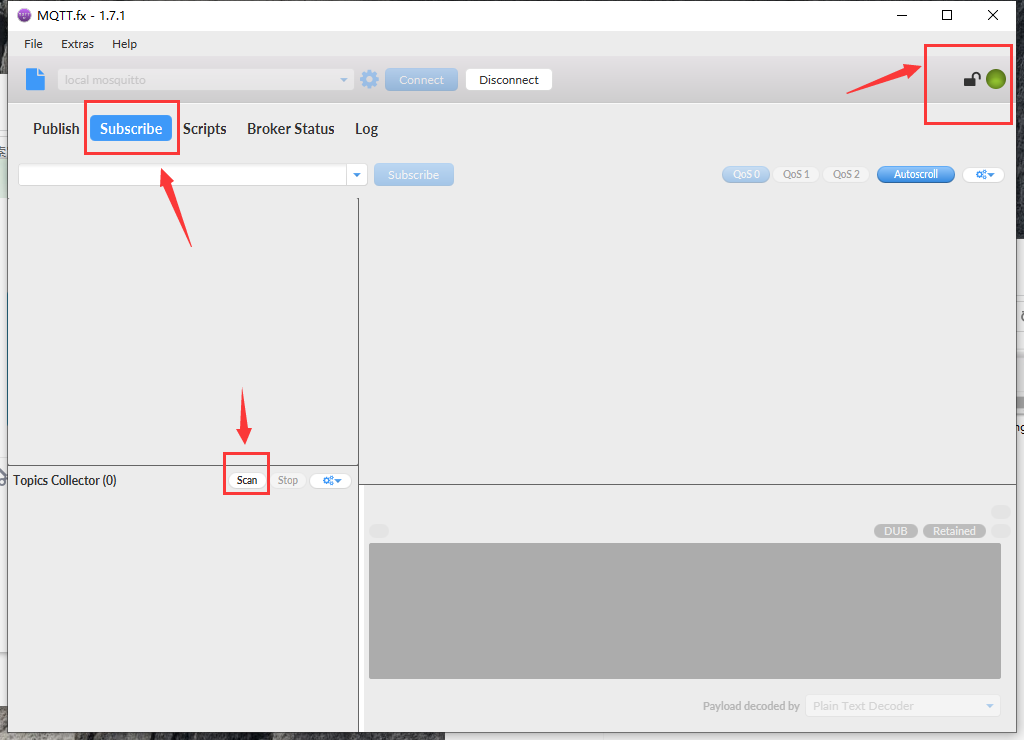
When a node uploads data, information will be scanned in the scan column.
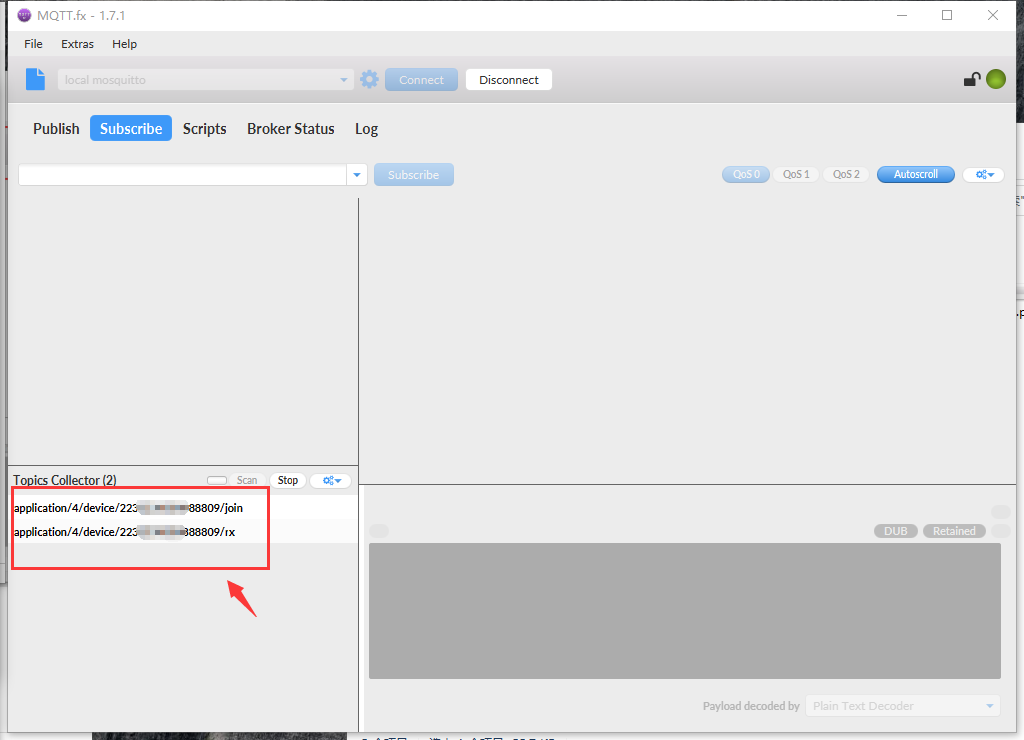
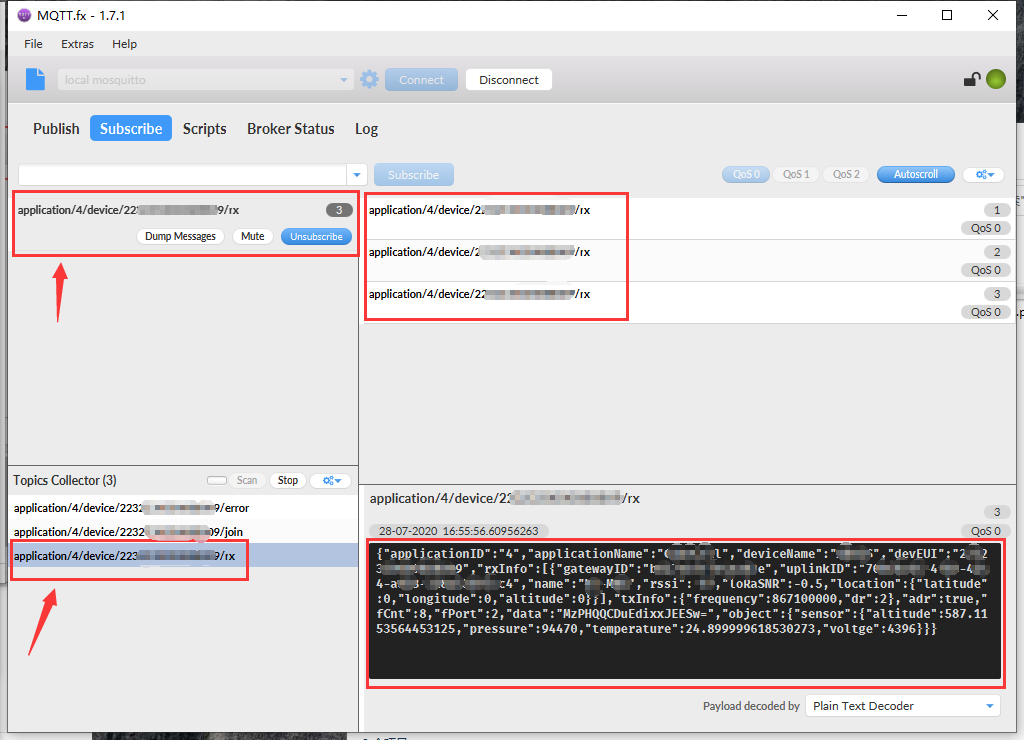
Select one as your subscription information. When there is a matching subscription information uploaded, it will be displayed in the data column. The following example subscribes to application/4/device/22........09/rx
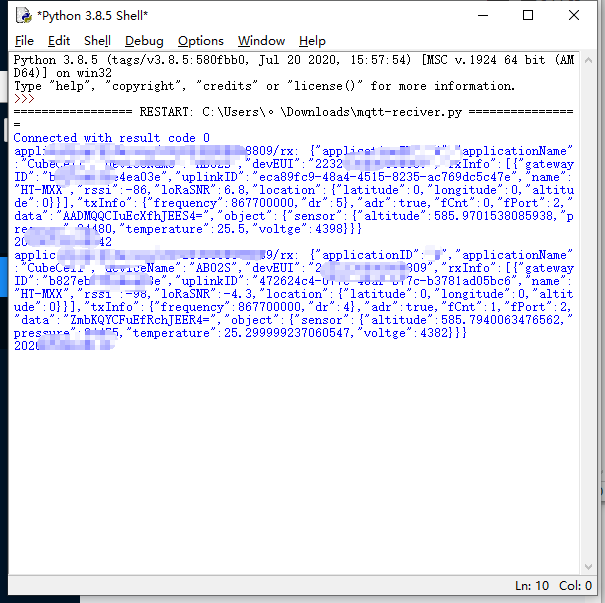
Subscribing To MQTT Using Python
After you Download Pyhton , you need to enter pip install paho-mqtt python-etcd in the terminal to install the module.
Information Configuration
Change the following data to the account and password for accessing the Cloud Server .
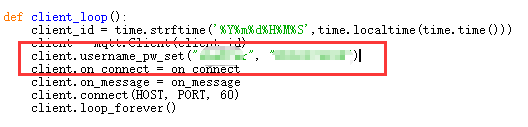
Modify the following data to the content you want to subscribe to.

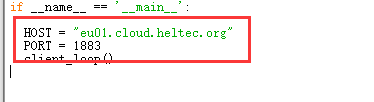
Modify host to the server address of the selected frequency band, and the port number is 1883 by default.
Run Python